
Photopea / Photoshop lessons
EVER WANTED TO LEARN HOW TO USE PHOTOSHOP?
I hold a Facebook event on Thursday, from 6-7pm. - Whether for improving your photos, using them to draw/paint from or just always wanted to give it a try?
I have taught students how to use Photoshop for many years and would like to open this up to others outside of the classroom.
If you don't have Photoshop, as it is quite expensive, we will use the free online equivalent instead, Photopea.
The sessions will be £5 for 1 hour, made payable to me which can be arranged by email from the contact us page or through Facebook.
Facebook Live recordings will be available after the event for you to review what was taught at your own viewing pleasure and speed.
Only people who have paid will be able to view these recordings. For more information send me a email.
During the lessons there will be posts created for you to take advantage of in the event, A post containing all the class resources you may need including photos I will be using to demonstrate, you can use these or use your own images to learn with. I will also create a post that allows everyone in the class to share their masterpieces to the rest of the group and I welcome feedback and discussions from anyone who wants to give it, I will also give feedback on what is posted too.
|
Lesson 1
Basic features - including the layout of Photopea/shop, tool bars, layers and canvases.
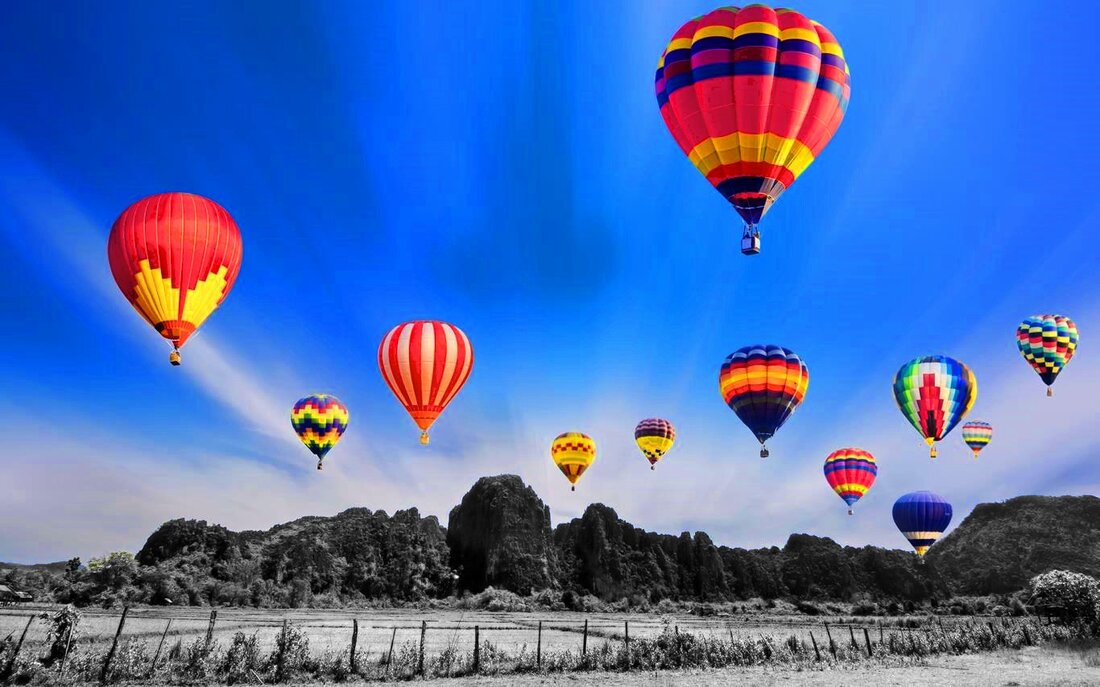
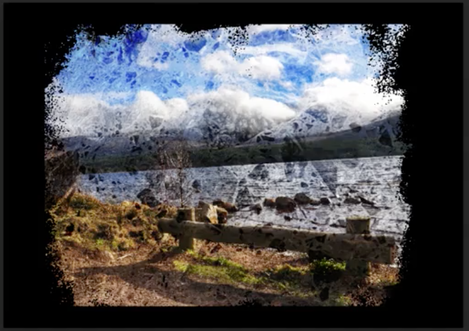
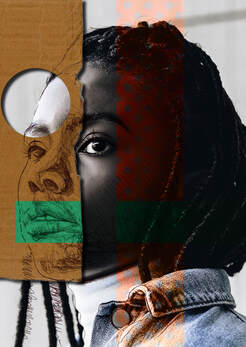
Lesson 2 Selection tools! In this this lesson I introduce you to the selection tools, these powerful tools allow you to select almost every type of images from a background with amazing results. Each the tools we use will be explained why they are useful for using in different scenarios, why some are better than others and ones you might want to avoid. We will use these tools to do the following, select and change an objects colour within the image (pop colour) whilst changing the rest of the image to be black and white. We will also look at cutting and pasting or even better 'masking' which removes areas from our images but keeps them safe in case we want to remove the mask at a later date. Lesson 3 Selection tools continued and Creative cropping! In this lesson we finish off looking at using the selection tools, in particular the color range technique and why and when you might use them for each scenario. The using our new found knowledge we will create a variety of creative cropping effects on an image. Ranging from the traditional use of the crop tool, to using masks to create circle crops and other shapes using a custom brush. Lesson 4 Creative cropping continued and introducing layer blending options! In this lesson we are again building on techniques learnt in the previous lesson but focusing on making a creative cropping border to the edges of our image. These are created using a number of selection tools which allows us to select parts or all of the image/texture and applying a mask. We then look at adding a layer to our image which can be blended to create a crumpled paper effect. Lesson 5 Developing an image using layers Building on last lesson, we now are beginning to work to develop layering techniques. Combining layers with blending options, adding layer masks and further editing/adding or subtracting to already created layer masks. We also tried using layer effects too, this can be seen in the image to the right where a drop shadow has been added to the cardboard to make it look like it is added on top of the other layers. We talked more about saving our creations especially when we want to come back to working on this document in the future (continuing next lesson) and how to save it with layers still editable. Lesson 6 Developing the image further. Continuing on from last lesson we will be adding text to our image and further adding and subtracting to our masks created. Adding some textures to the image and finishing off the image with some final tweaks of colours and adjustment layers. Lesson 7 Developing another image Please share if you know others would be interested too. |

|
UPDATE!!!!
Facebook can be really difficult at times and it has decided I don't have permission to start a Facebook Live video in my own created Facebook events, so I will be pre recording the videos and posting to the class. This might take longer to upload and lessons might be slightly later starting than expected.
Facebook can be really difficult at times and it has decided I don't have permission to start a Facebook Live video in my own created Facebook events, so I will be pre recording the videos and posting to the class. This might take longer to upload and lessons might be slightly later starting than expected.